· Automation · 4 min read
Launch Your Ansible Automation Hub: Install AWX on Ubuntu with MicroK8s
Unlock Ansible automation with AWX! This step-by-step guide shows you how to install AWX Tower on Ubuntu Server using MicroK8s and Helm for powerful, free automation.
Empower Your Automation with AWX
Ready to take your Ansible automation to the next level? AWX, the upstream project for Red Hat Ansible Automation Platform (formerly Ansible Tower), offers a centralized and collaborative platform for managing your Ansible playbooks.
AWX acts as a central control point for your Ansible workflows. Instead of managing scattered playbooks, AWX provides a dashboard to organize, schedule, monitor, and control your automation. Best part, you can deploy AWX for free.
In this tutorial, I’ll walk you through installing AWX on Ubuntu Server using MicroK8s and Helm. This will enable you to leverage the capabilities of Ansible automation.
1. Pre-Flight Checklist: System Prerequisites
Before we launch into AWX installation, ensure your Ubuntu Server meets these essential prerequisites:
- Ubuntu Server with MicroK8s Cluster: You’ll need a running Ubuntu Server with MicroK8s already configured.
- Resource Requirements: 6GB+ RAM & 4+ CPUs: AWX is a robust platform and requires adequate resources to run smoothly. Seriously, don’t skimp on the resources! Insufficient RAM or CPU will lead to installation failures and a frustrating experience.
2. Enable Required AddOns
ansible@kube:~$ microk8s enable dns hostpath-storage ingress rbac helm3. Install AWX Operator
AWX Operator is a Kubernetes native operator that automates the deployment and management of AWX Tower. It simplifies the process of installing and upgrading AWX Tower by providing an automated, self-contained deployment that can be easily managed through Kubernetes. To make it even easier, we’ll use Helm chart to install AWX operator automatically. Helm chart is a package manager for Kubernetes that provides an easy way to install, upgrade, and manage Kubernetes applications.
ansible@kube:~$ microk8s helm repo add awx-operator https://ansible.github.io/awx-operator/
ansible@kube:~$ microk8s helm repo update
ansible@kube:~$ microk8s helm install -n awx --create-namespace awx awx-operator/awx-operator

# Output
NAME: awx
LAST DEPLOYED: Mon Apr  3 00:07:39 2023
NAMESPACE: awx
STATUS: deployed
REVISION: 1
TEST SUITE: None
NOTES:
AWX Operator installed with Helm Chart version 1.4.0

# Check status
ansible@kube:~$ kubectl get pods -n awx
ansible@kube:~$ kubectl get pods -A
4. Install AWX
# Switch to the AWX namespace
ansible@kube:~$ kubectl config set-context --current --namespace=awx

# Create AWX configuration and apply
ansible@kube:~$ cd ~
ansible@kube:~$ cat << EOF > awx.yaml
---
apiVersion: awx.ansible.com/v1beta1
kind: AWX
metadata:
  name: awx
spec:
  service_type: nodeport
EOF

ansible@kube:~$ kubectl apply -f awx.yaml

# Optional: Open another terminal to monitor the install
ansible@kube:~$ kubectl logs -f deployments/awx-operator-controller-manager -c awx-manager
Wait until all 6 AWX pods are ready, takes a couple of minutes.
# Check status of pods
ansible@kube:~$ kubectl get pods -n awx
Example:
ansible@kube:~$ kubectl get pods -n awx
NAME                                               READY   STATUS            RESTARTS   AGE
awx-operator-controller-manager-5678bcf484-snqnk   2/2     Running           0          4m10s
awx-postgres-13-0                                  1/1     Running           0          107s
awx-96d4765c-rz8n4                                 0/4     PodInitializing   0          62s
5. Port Forward
# Find the Port/IP
ansible@kube:~$ kubectl get service -A

# Output
ansible@kube:~$ kubectl get service -A

NAMESPACE     NAME                                              TYPE        CLUSTER-IP       EXTERNAL-IP   PORT(S)                  AGE
default       kubernetes                                        ClusterIP   10.152.183.1     <none>        443/TCP                  9m58s
kube-system   metrics-server                                    ClusterIP   10.152.183.66    <none>        443/TCP                  7m56s
kube-system   kubernetes-dashboard                              ClusterIP   10.152.183.76    <none>        443/TCP                  7m52s
kube-system   dashboard-metrics-scraper                         ClusterIP   10.152.183.207   <none>        8000/TCP                 7m52s
kube-system   kube-dns                                          ClusterIP   10.152.183.10    <none>        53/UDP,53/TCP,9153/TCP   7m23s
awx           awx-operator-controller-manager-metrics-service   ClusterIP   10.152.183.21    <none>        8443/TCP                 6m26s
awx           awx-postgres-13                                   ClusterIP   None             <none>        5432/TCP                 3m24s
awx           awx-service                                       NodePort    10.152.183.67    <none>        80:31589/TCP             2m42s

# Port Forward (Optional)
ansible@kube:~$ microk8s kubectl port-forward -n awx service/awx-service 31589:80 --address 0.0.0.0 &> /dev/null &
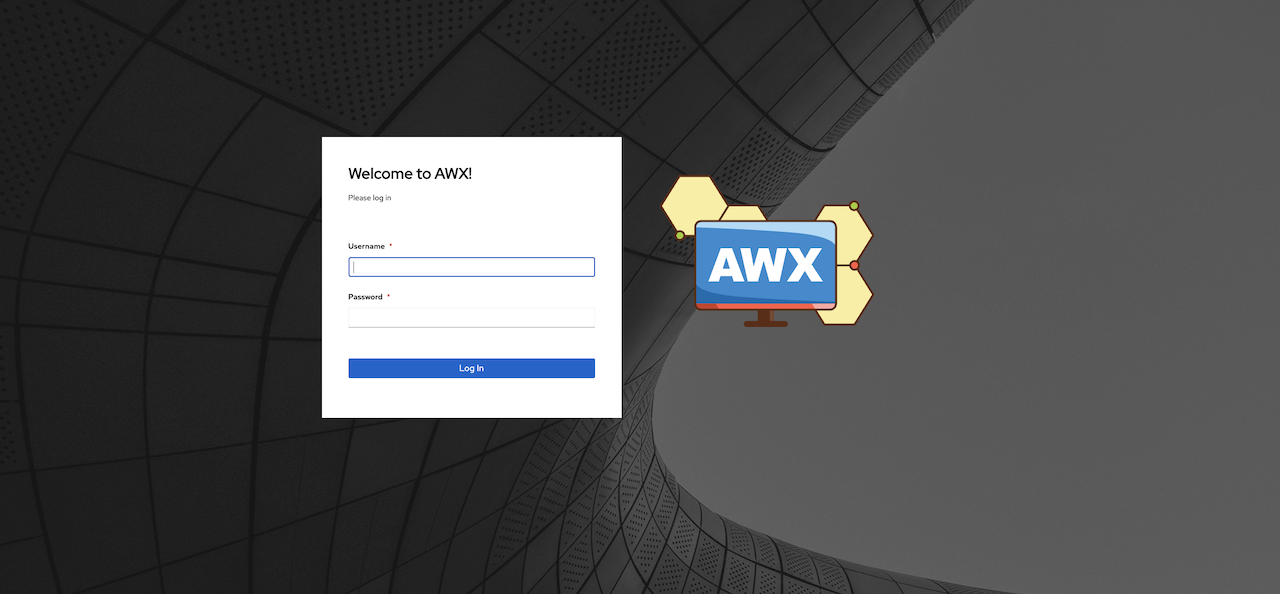
6. Login to AWX
# Get the Admin password
ansible@kube:~$ echo Username: admin$'\n'Password: `kubectl  get secret awx-admin-password -o jsonpath='{.data.password}' | base64 --decode`
And that’s it, just login on port 31589! You’ve just created your very own AWX Tower using Ubuntu, MicroK8s and Helm, all for free! Now you can experiment with different Ansible playbooks and have a blast exploring the world of automation. There are endless of resources online with any playbook you can think of. If you need help to get started, these are the few that I use to manage my home lab, laptops and raspberry Pis: https://github.com/bgx4k3p/ansible-playbooks.
Keep Automating!